Irrigation Installation in Norfolk County
Planning a sprinkler system for your Norfolk County property means thinking through your lawn size, water pressure, and soil conditions. Too many homeowners jump in too quickly, then end up with patchy grass, wasted water, and expensive fixes later.
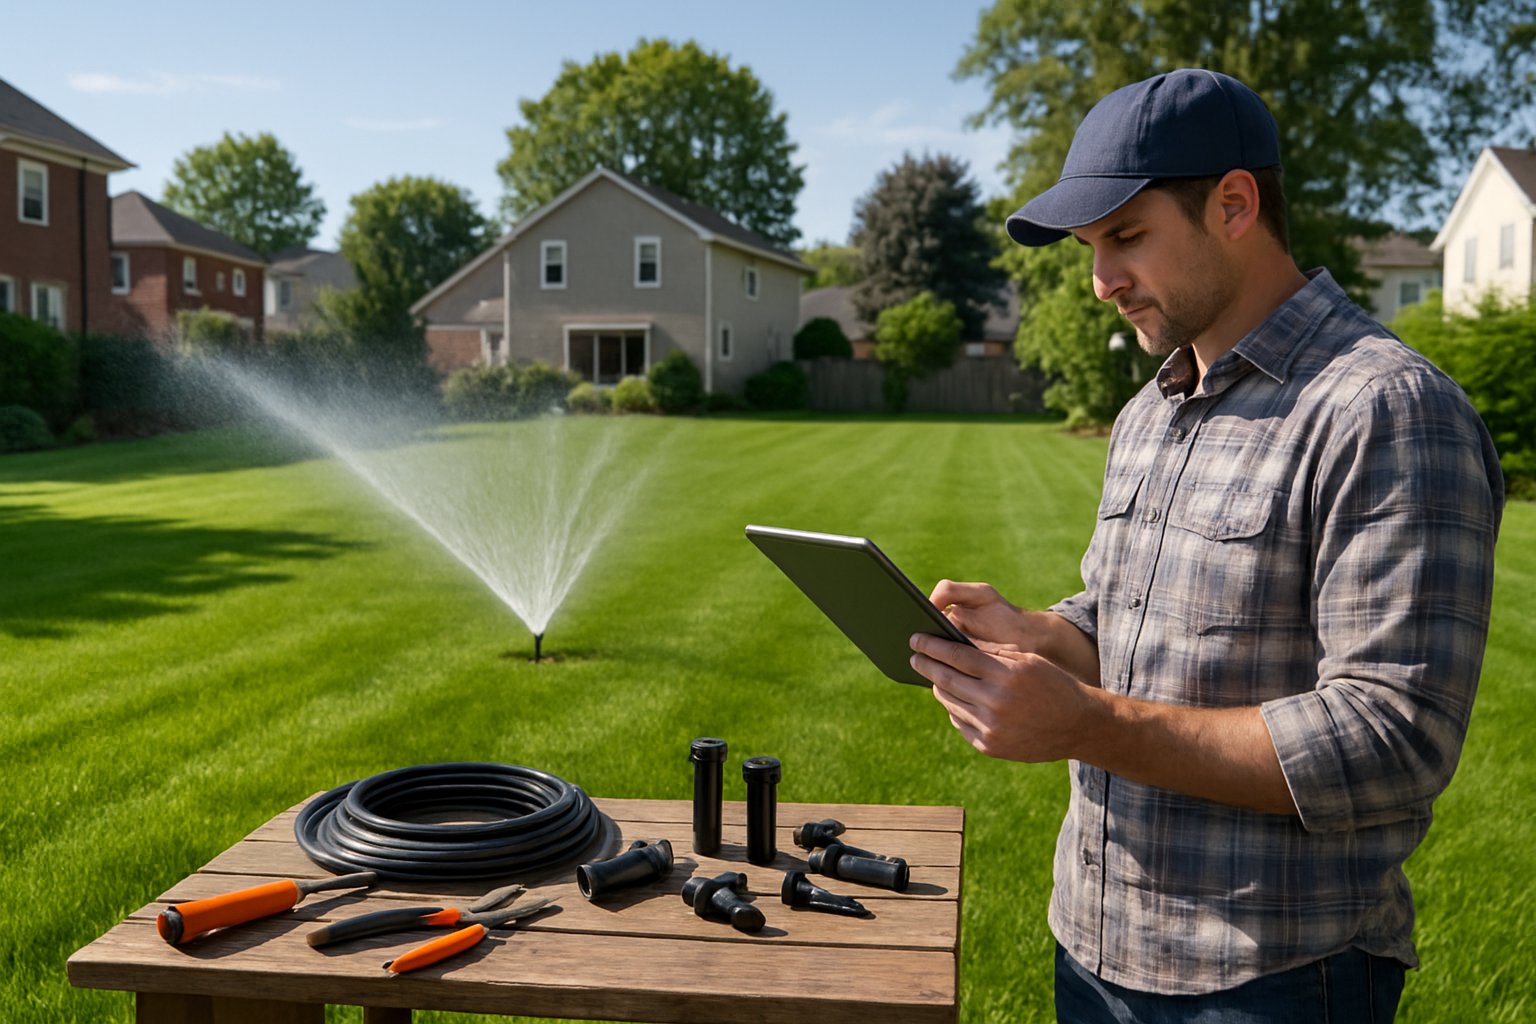
The trick to a good sprinkler install? Create a detailed design that matches your actual landscape before you start digging. Map out your property zones, pay attention to sun and shade, and get a feel for what your water system can handle.
Taking a little extra time upfront can save you a lot of money and headaches down the line.
Let’s go through the whole process—starting with your first property assessment and ending with the decision to go DIY or call in professional sprinkler system providers. You’ll see how to design efficient coverage, choose the right parts, and keep your system running for years.
Understanding Lawn Sprinkler Systems
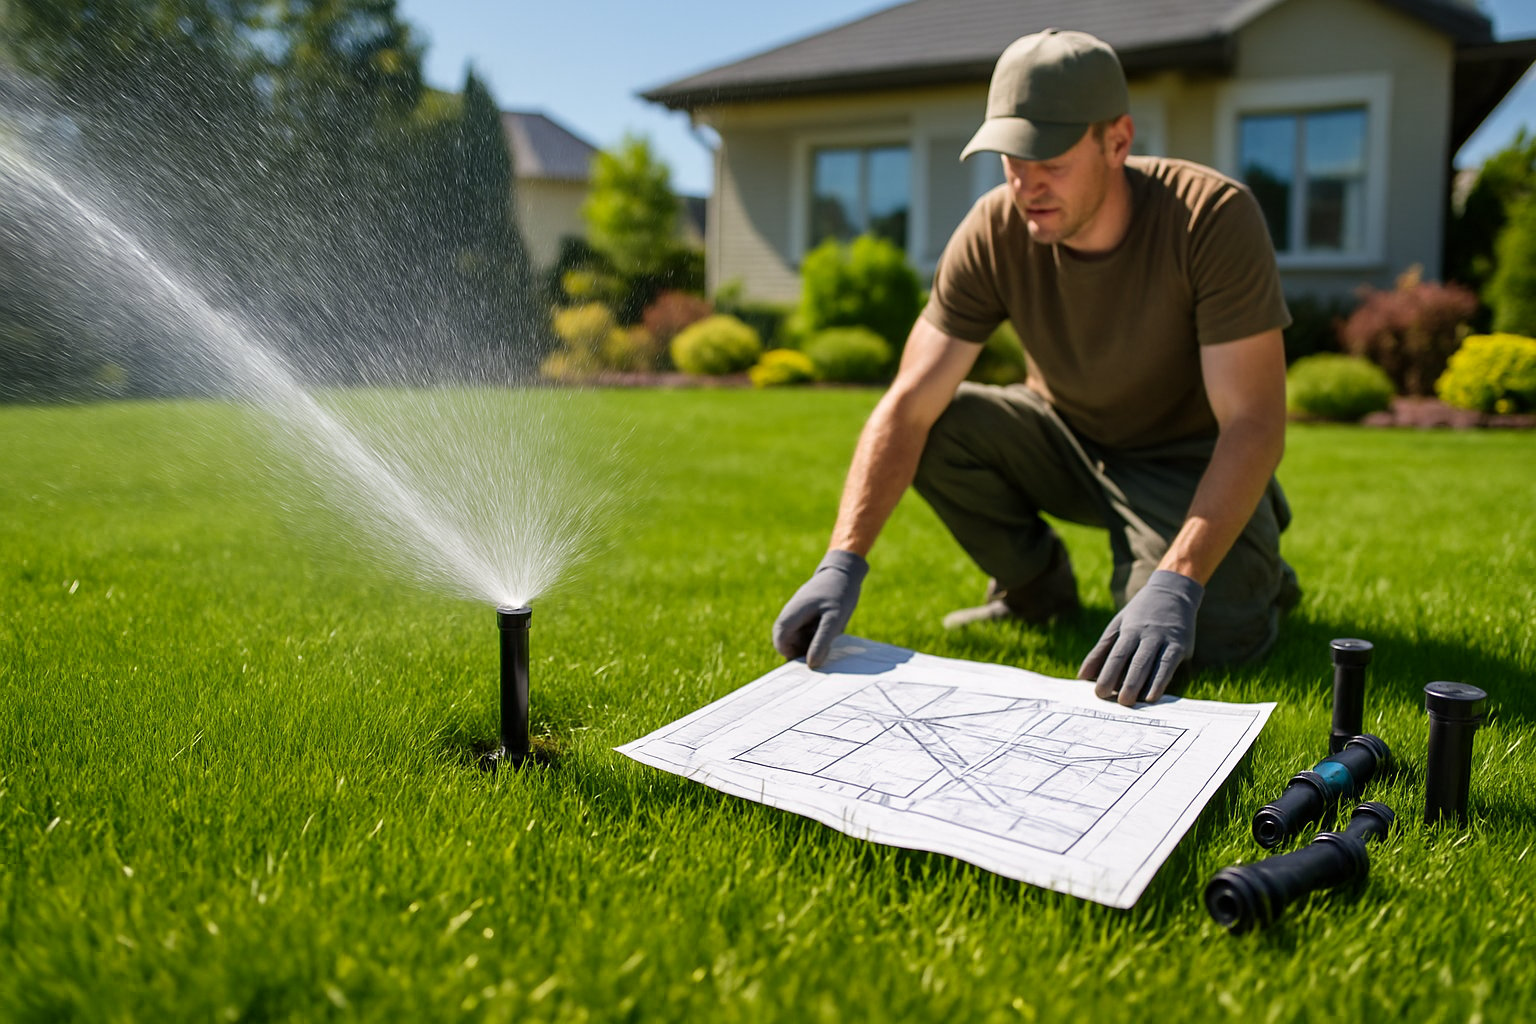
Lawn sprinkler systems are automated watering networks that deliver water right where your grass and plants need it. Each system type covers different areas in its own way, but they all use pipes, valves, and timers to get water across your property efficiently.
Types of Lawn Sprinkler Systems
Picking the right irrigation system really comes down to your yard size, your budget, and how much watering you want to do. You’ve got three main options.
Above-ground systems use sprinklers attached to hoses—either portable or stationary. They’re less expensive and work for smaller spaces. You can move them around as needed.
In-ground systems hide pipes under your lawn, with pop-up heads that disappear when not in use. They’re tidier and cover bigger areas, but they take more work to install.
Drip irrigation systems send water straight to plant roots through little tubes. I like these for garden beds, shrubs, and trees. They’re super efficient.
Above-ground setups don’t need digging, while in-ground systems require trenching. Drip lines work best in certain zones, not everywhere.
How Sprinkler Systems Work
A sprinkler system uses pipes connected to your main water supply. Water moves through those pipes—either buried or on the surface—to the sprinkler heads.
A control system tells each zone when to run and for how long. Modern controllers let you set different schedules for different areas. Maybe the front lawn waters daily, while the side yard only gets a soak every few days.
Water pressure pushes water through the pipes and out through the sprinkler heads. Rotary heads spin to cover wide spaces. Spray heads give a fixed fan pattern for smaller spots.
Valves open and close to control water flow to each zone. When the timer says go, a valve opens, and that section gets water. Multiple zones keep pressure from dropping and messing up your coverage.
Common Features and Components
Every sprinkler system has a few main parts that need to work together. Here’s a quick rundown.
Control panels are the brains. They set watering times, zone duration, and seasonal tweaks. Some smart controllers even adjust automatically for the weather.
Pipes and fittings move water all over your yard. Most homeowners use PVC pipes, and the right size pipe keeps water pressure strong at every sprinkler.
Sprinkler heads come in different types:
- Spray heads for smaller areas (up to 15 feet)
- Rotary heads for bigger spaces (15-50 feet)
- Drip emitters for spot watering
Valves control which zone gets water. Automatic valves work with the timer, and manual shutoffs help during repairs.
Backflow prevention devices keep your home’s water safe from contamination. Local codes usually require them.
Assessing Your Property and Needs
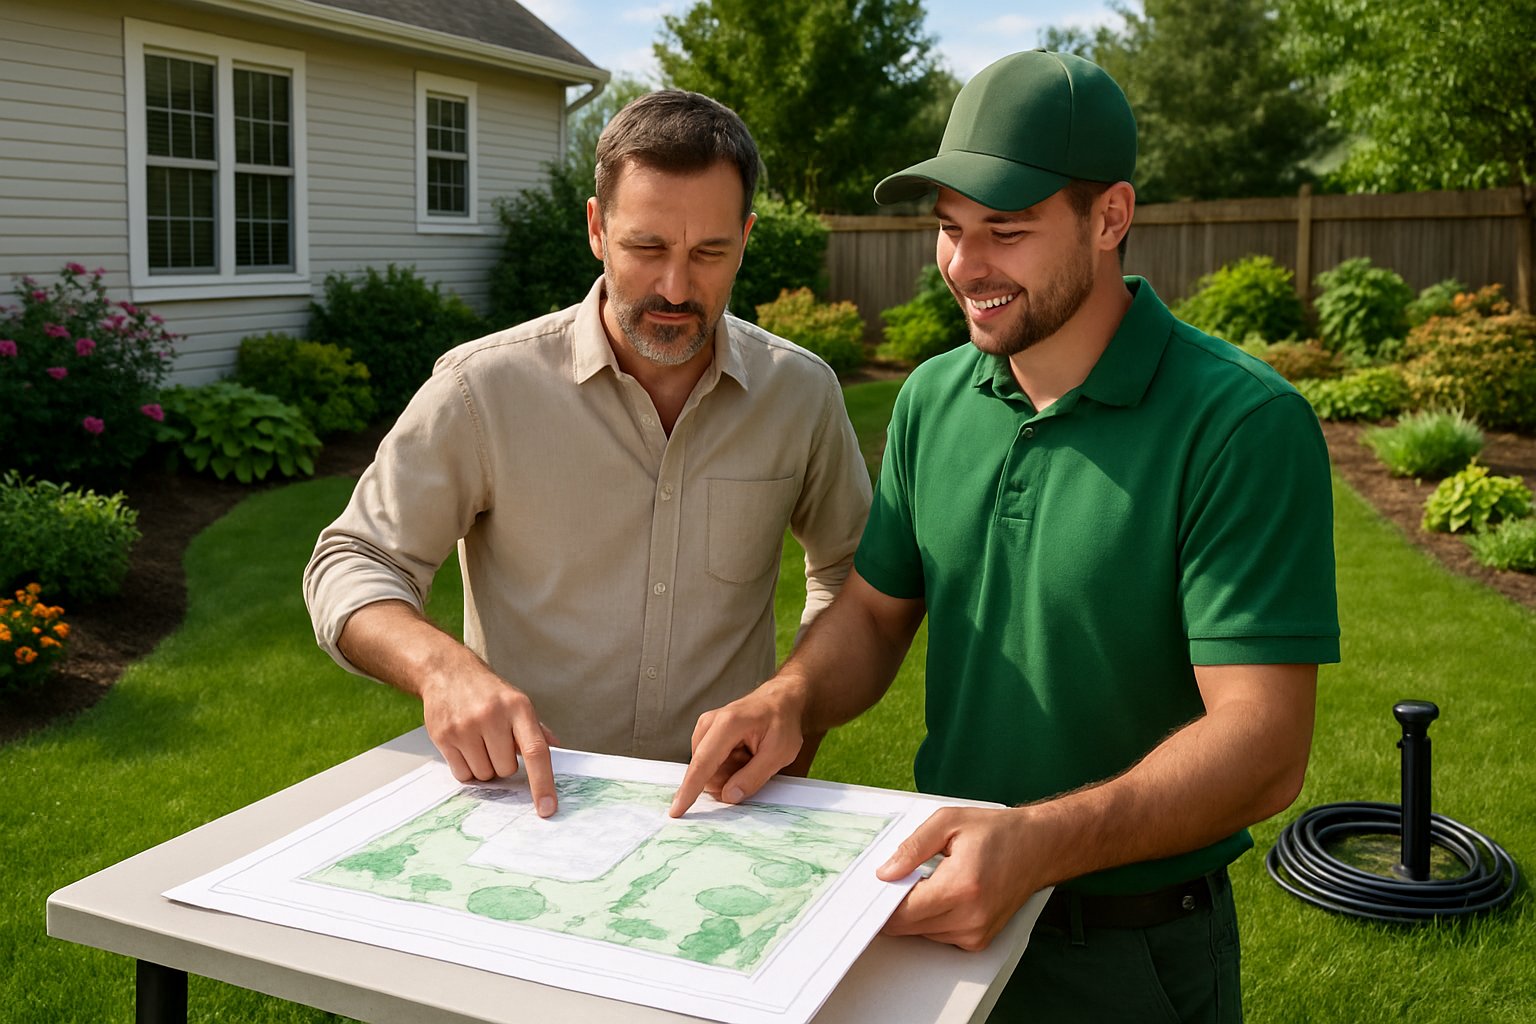
Before I even think about installing a sprinkler system, I look at three things: my lawn’s size and layout, the soil and local weather, and my water supply. These details shape the system I’ll need and what it’ll cost.
Evaluating Lawn Size and Shape
First, I measure the lawn’s square footage with a tape or a phone app. Most homes have between 5,000 and 15,000 square feet of grass.
I sketch out the yard, noting trees, flower beds, walkways, and buildings. These all change where I’ll put sprinkler heads.
Odd-shaped lawns need more zones than simple rectangles. I count up all the separate grassy spots—front, back, and sides.
If my yard has steep slopes, I pay extra attention. Water runs off quickly on grades over 30 degrees, so I might need special sprinkler heads or shorter watering times.
Big properties—over an acre—usually need a pro’s help to keep water pressure right everywhere.
Considering Soil and Climate Conditions
I dig a small hole to check my soil. If water drains within a day, it’s not heavy clay. Clay holds water longer; sand drains fast.
Clay needs longer, less frequent watering. Sandy soil needs short, frequent cycles so water doesn’t just run through.
I look up Norfolk County’s average rainfall and when droughts hit. That tells me when I’ll need the system most.
Frost dates matter too. I usually plan to start up in late April and shut down by mid-October.
Some parts of my yard dry out faster because of sun or wind. Others stay damp longer. I make note of those microclimates.
Identifying Water Source and Pressure
I find my main water meter and check how far it is from where I want to put sprinklers. The farther the pipe runs, the more pressure I lose.
I use a pressure gauge on an outdoor spigot to test. Most systems need 30 to 50 PSI.
To check flow rate, I time how long it takes to fill a 5-gallon bucket. Most zones need 5-10 gallons per minute.
If pressure’s too low, I might need a booster pump or smaller zones. Sometimes it’s best to get a pro’s opinion during assessment.
I also consider whether to tap into my main water line or get a separate irrigation meter. Some utilities offer discounts for these.
Planning Your Sprinkler Design
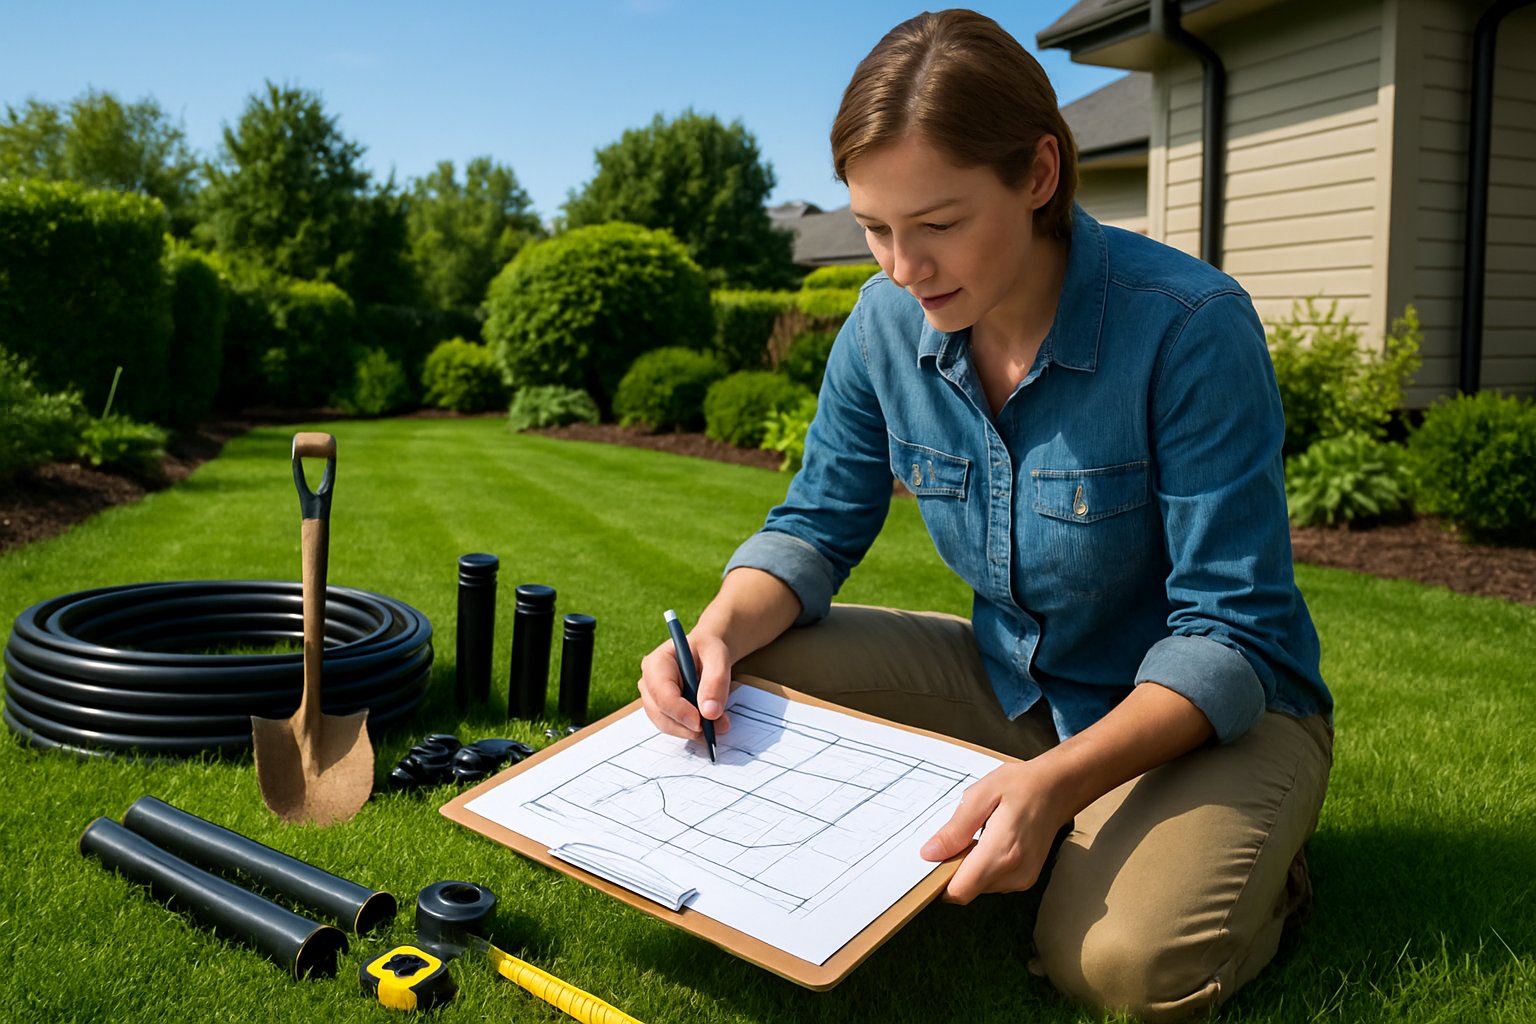
A good sprinkler install starts with a plan that fits your property’s quirks. I split the lawn into water zones and tweak each one based on the plants and sunlight.
Zoning and Coverage Layout
I always begin by measuring my property and marking obstacles like trees, walkways, and beds on a sketch. This makes zoning easier.
I keep plants with similar water needs together. Sunny areas get their own zone—grass there needs 20-30% more water than shaded patches.
Using a pressure gauge and bucket test, I figure out my water pressure and flow. Most homes have 30-50 PSI and 8-15 gallons per minute. That tells me how many heads I can run per zone.
I use the head-to-head coverage rule: each head’s spray should reach the next, or you’ll get dry spots. Rotor heads usually go 25-35 feet apart; spray heads work best at 12-18 feet.
Mixing different head types in one zone is a mistake. Rotors and sprays use water at different rates, so watering gets uneven.
System Customization for Different Areas
Different parts of my yard need different approaches. I use rotor heads for big open lawns—they cover a 25-40 foot radius easily.
Spray heads are better for tight or oddly shaped spots, like beds and narrow strips. They cover 8-15 feet and fit around curves.
On slopes, I use low-angle nozzles if the grade’s over 15%. That keeps the water close to the ground and reduces runoff.
I try to keep sprinkler heads at least 6 feet from the house and 3 feet from property lines. That way, I avoid water damage and don’t spray the neighbor’s yard.
If I have different plant types, I make separate zones. Trees like deep, rare watering; new sod wants light, frequent sprays at first.
Integrating Drip Irrigation for Gardens
Drip systems are my go-to for flower beds, veggie gardens, and shrubs that need careful watering. Drip lines send water straight to the roots and waste less.
For garden beds, I run ¼-inch tubing with emitters spaced 12-18 inches apart. Smaller plants get 0.5 gallon-per-hour emitters, big shrubs get 2 GPH.
I hook drip zones up to the main controller, but set their schedule separately. Garden planning tools help me figure out how many emitters I need and how long to run them.
Pressure compensating emitters keep flow rates steady, even on hills. Drip lines work at lower pressure (15-25 PSI), so I add a pressure reducer at each drip zone.
For groundcovers or little shrub groups, I use micro-spray heads. They gently cover 3-6 foot spots—not as precise as drip, but still efficient.
Preparing for Installation
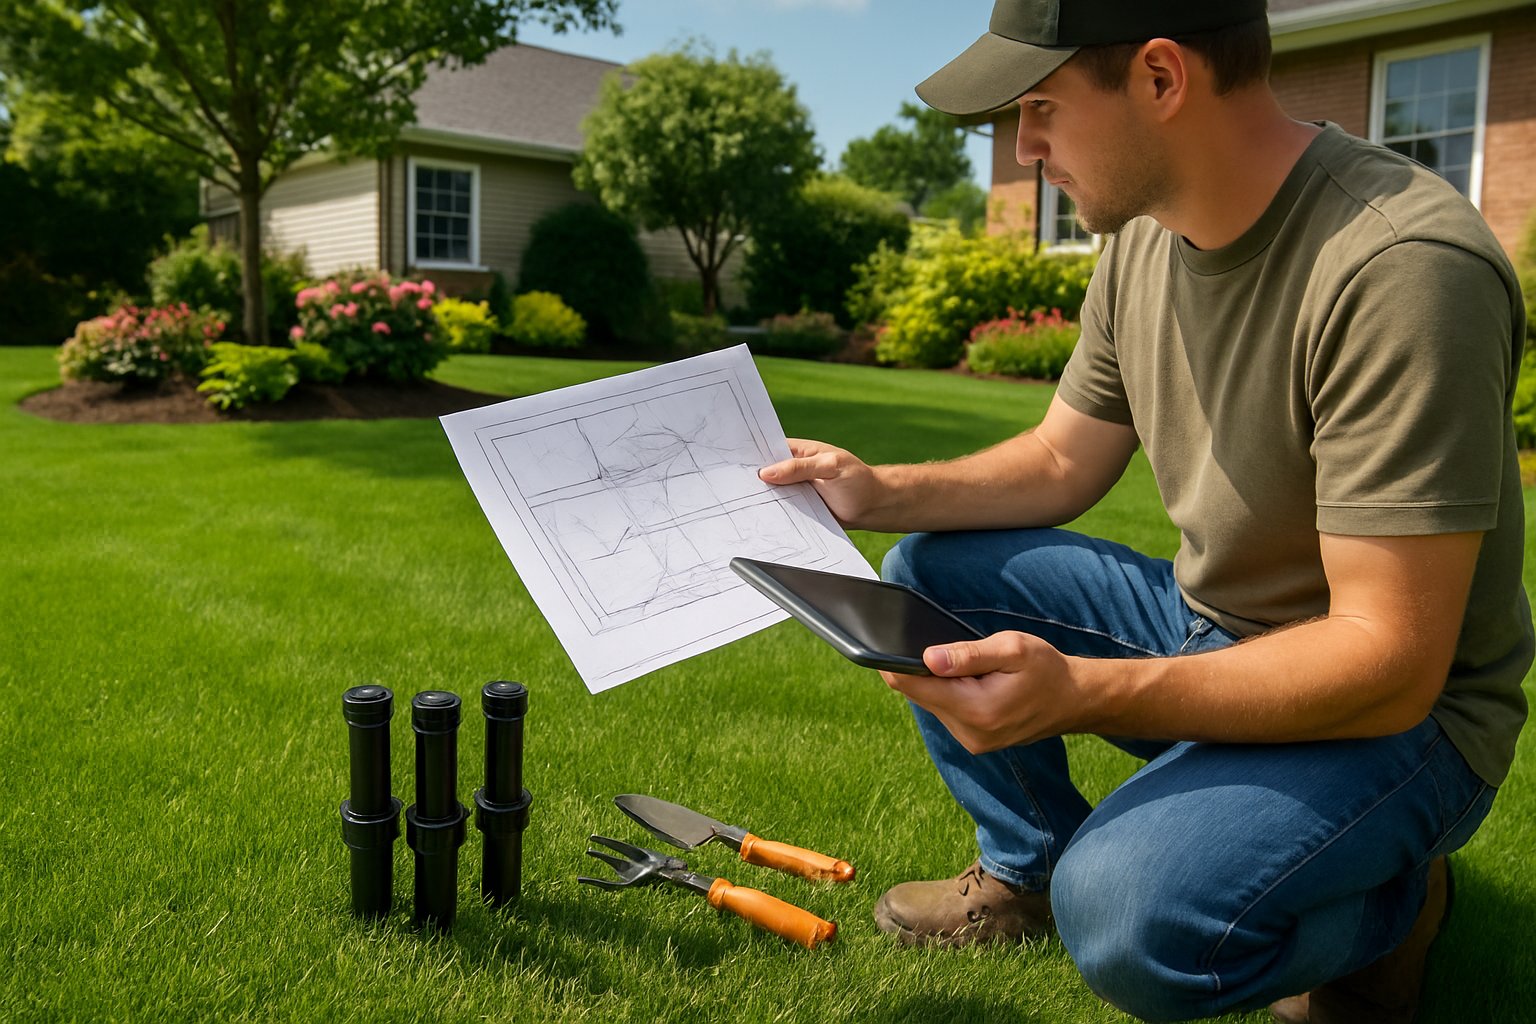
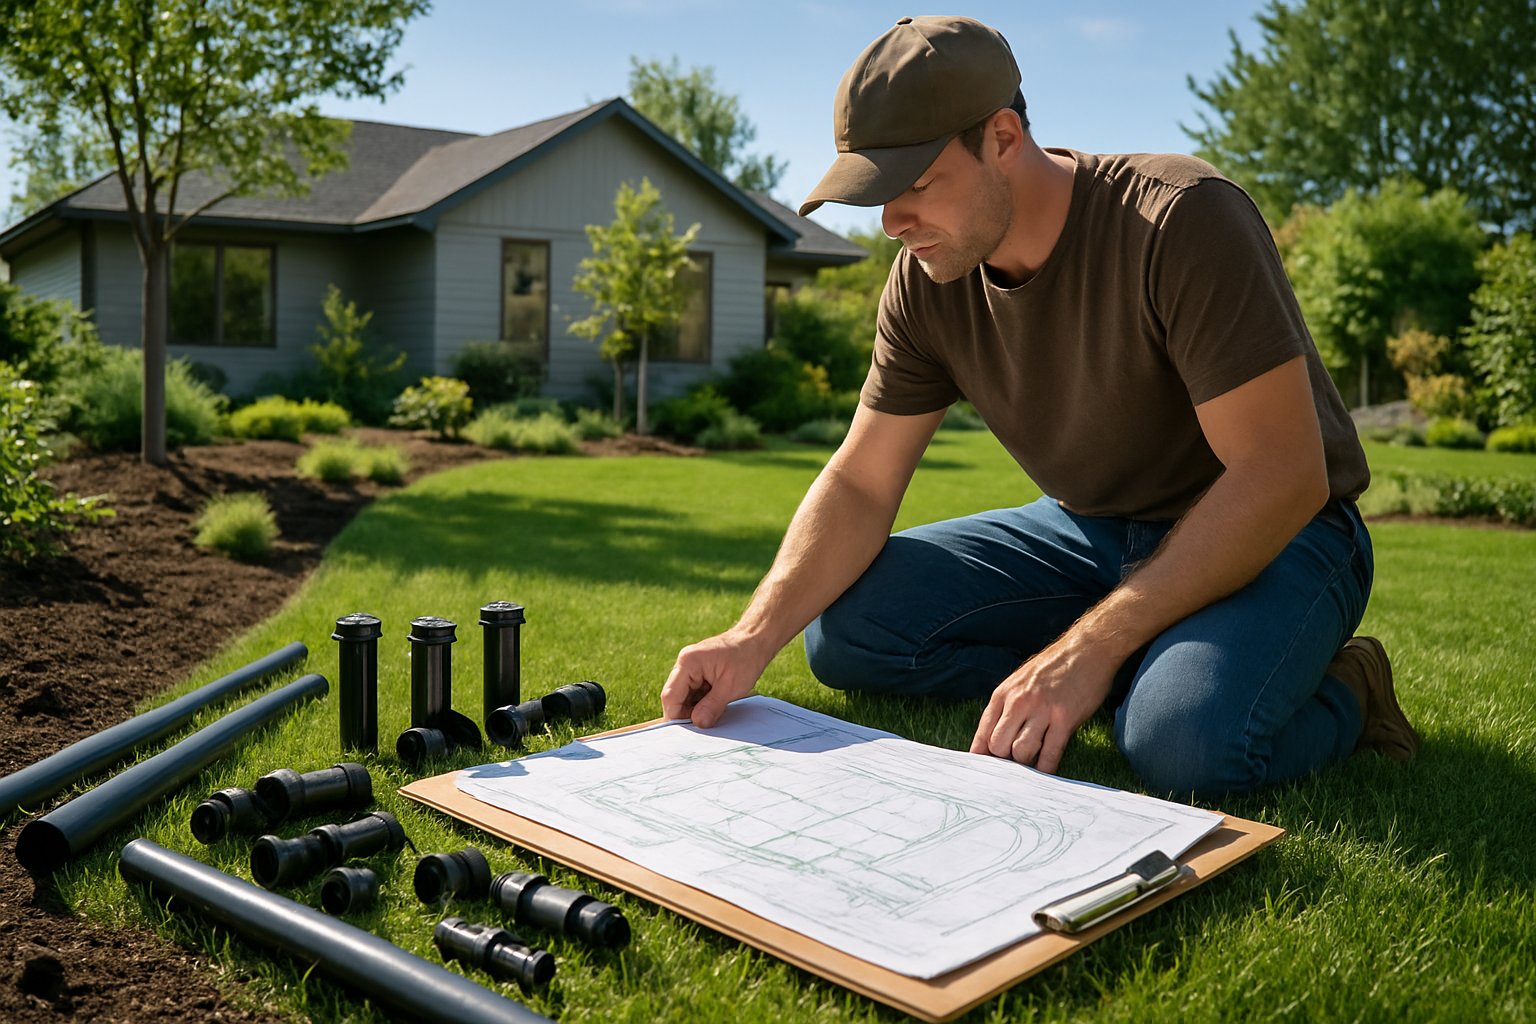
Getting ready for installation takes some legwork. I need the right materials, the right tools, and the right paperwork.
Choosing Materials and Products
I always start with decent sprinkler heads. For big lawns, the Rainbird 5000 is a favorite—pros usually space them 25-28 feet apart depending on wind and layout.
Here’s how I break it down for my yard:
- Rotary sprinklers for big open areas (25-30 foot coverage)
- Spray heads for smaller spots and beds (8-15 feet)
- Drip lines for gardens and shrubs
I get pop-up sprinkler bodies in different heights—4 to 12 inches—so I can reach over grass or around obstacles.
For pipes, I use PVC for the main lines and flexible poly tubing for the laterals. Each zone needs a control valve wired to an automatic timer.
Gathering Tools and Equipment
Before I start, I grab the tools I’ll need. For digging, I use a trenching shovel, a pickaxe for tough soil, and a lawn edger for clean lines.
Pipe work takes PVC cutters, primer and cement, plus Teflon tape for tight connections. I keep a pipe threading tool and a few adjustable wrenches handy.
For wiring, I use waterproof wire nuts, underground-rated irrigation wire, and a multimeter to test connections. A trenching shovel (or a rented trencher for big jobs) makes pipe and wire installation faster.
I don’t skip safety gear—gloves, glasses, and knee pads are a must.
Obtaining Permits and Approvals
I check with my local government about permits before I do anything. If I’m connecting to city water, a permit is usually required.
My application needs a system layout drawing that shows where the heads, pipes, and valves will go. I also include water pressure numbers and backflow device specs.
Approval can take a week or two, depending on how busy the office is. I make sure to schedule inspections before I cover up any pipes.
And I always call the utility marking service at least two days before digging. They’ll mark buried gas, electric, and water lines for free—definitely not something to skip.
Step-by-Step Installation Process
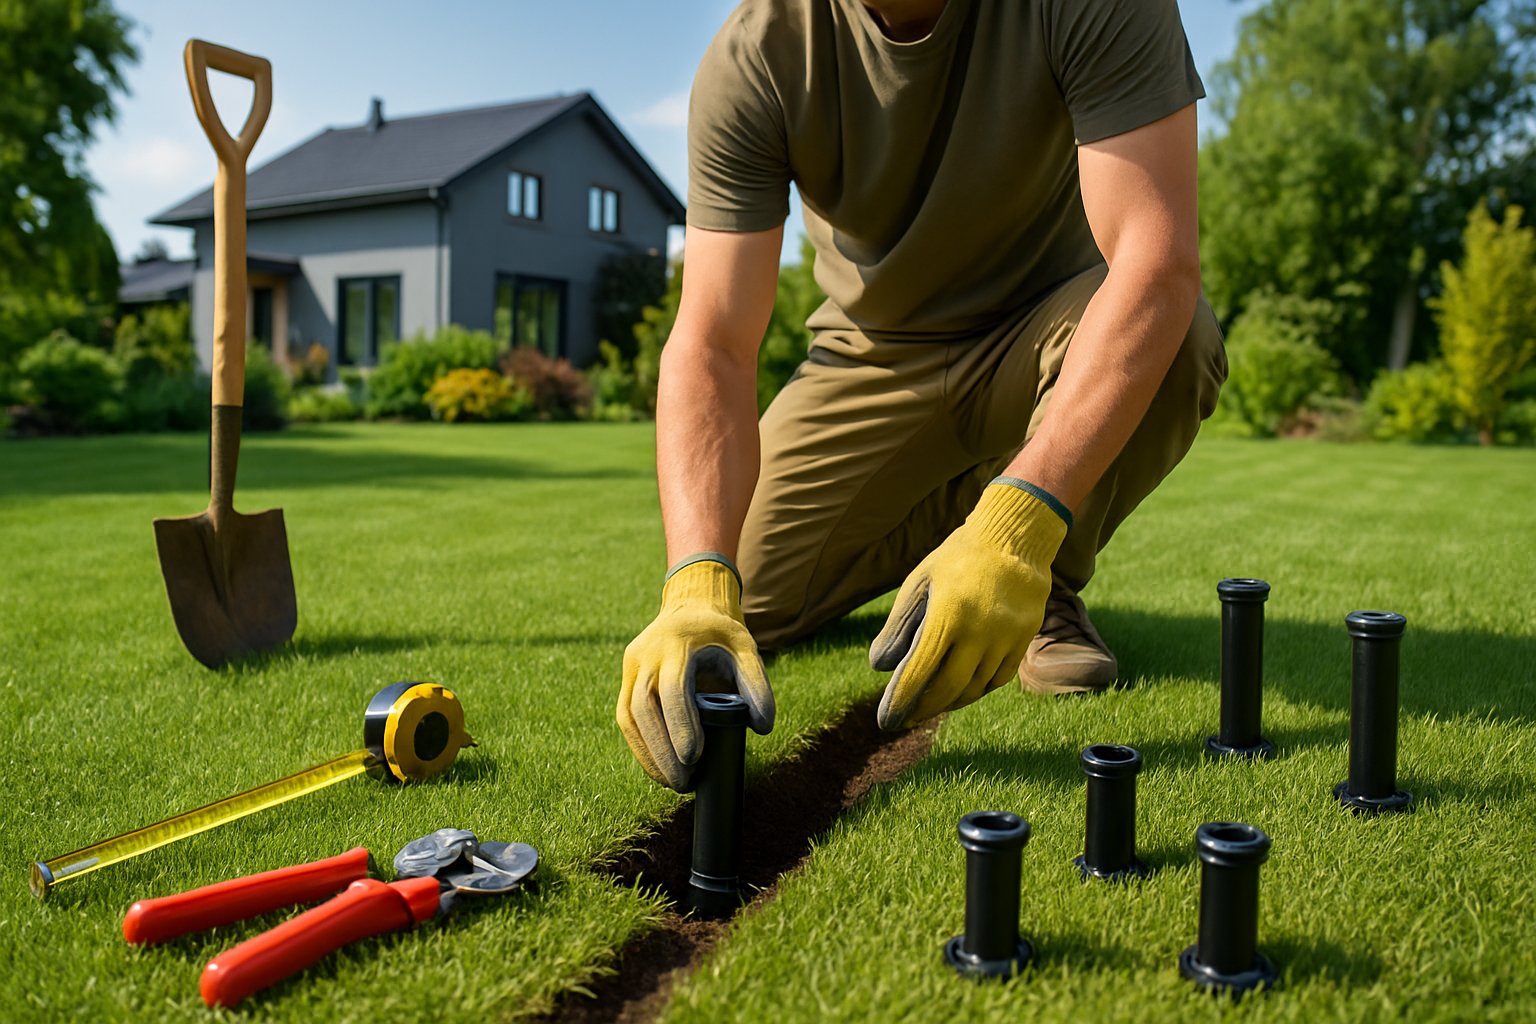
The installation process has four main phases, each one building on the last. Good excavation and careful pipe placement set the stage, while solid water connections and thorough testing keep the system working for years.
Marking and Excavating Trenches
First, I always mark out all utility lines before digging. That way I don’t accidentally hit any water, gas, or electrical lines.
Most places require you to call 811 at least two days before you start digging. It’s a hassle, but it’s worth it for peace of mind.
I lay out the trench path using spray paint or little flags, following my system plan. The main water line needs a wider trench than the laterals.
I try to keep the trench depth consistent. Usually, pipes should be buried 8 to 12 inches deep, depending on the frost line in your area.
I dig trenches 4 to 6 inches wide for most yards. The soil goes on tarps right beside the trench, which makes it easier to put back later and keeps my lawn cleaner.
I slope the trenches a bit toward the lowest point. That helps with drainage if water ever gets in there.
When I get close to marked utilities, I switch to hand digging. A trenching shovel gives me narrow, neat cuts and doesn’t mess up the grass as much.
Installing Pipes and Sprinkler Heads
I start with the main supply line from the water source. For PVC pipe, I use primer and cement at every joint to keep things watertight.
I wait for the joints to cure—no shortcuts there, or you’ll regret it later.
Picking the right sprinkler heads really matters. Spray heads cover smaller areas under 15 feet, while rotors are better for bigger spaces up to 30 feet.
I use swing joints between the lateral pipes and each sprinkler head. They’re flexible, so they don’t break if the ground settles or someone steps on them.
Each head should sit flush with the ground, not sticking up or buried.
Valve boxes go in spots that are easy to reach. They hold the zone control valves, which handle water flow for each section.
Before I glue everything, I test-fit all the pieces. It’s way easier to fix mistakes before everything’s buried.
Connecting to Water Supply
The main water hookup needs a backflow preventer to keep drinking water safe. I install it based on local codes and the manufacturer’s instructions.
I tap into the main water line with a compression tee or a saddle valve. The connection has to provide enough pressure for the whole system—usually 30 to 50 PSI for homes.
Zone valves connect to the controller using low-voltage wire. I run the wires through conduit or use direct burial cable that’s rated for underground use.
Each wire goes to a specific zone terminal on the controller.
If the local code calls for it, I add a master valve. That way, the water shuts off to the whole system when nothing’s running.
The controller needs power from a regular household outlet. I usually put it in the garage or utility room where it’s dry and easy to get to.
Testing and Adjustments
Before I fill in any trenches, I do a pressure test. This helps me find leaks or loose connections while I can still get to them.
System testing procedures can spot coverage gaps early.
I turn on each zone one at a time to check how the heads work and if they cover everything. If there are dry spots, I tweak the spray patterns or angles.
Sometimes I need to add pressure regulators on certain zones. High pressure makes the sprinklers mist, and low pressure leaves some areas dry.
I program the controller so each zone gets just the right amount of water. Shady spots, sunny areas, and different plants all need different run times.
I check for drainage after watering. If I see standing water, that’s a sign of poor drainage or too much watering, and I fix it before calling the job done.
Advanced Features and Add-Ons
Modern sprinkler systems can do a lot more than just spray water. Smart tech like Wi-Fi controllers, weather sensors, and built-in lighting can cut water use by up to 30% while keeping your yard looking great.
Incorporating Automatic Controls
Wi-Fi controllers turn a basic sprinkler setup into a smart system. I can tweak watering schedules from anywhere with my phone.
The Rain Bird app with LNK module lets me control irrigation from pretty much anywhere. It makes automatic weather adjustments so I’m not overwatering or underwatering.
These smart controllers talk to local weather stations. They’ll skip watering if it’s raining or change the schedule if it gets hotter or more humid.
They offer multiple start times and seasonal scheduling. Some even keep backup programs in case the power goes out.
Mounting these controllers is pretty straightforward. Usually, I put them indoors, close to the electrical panel.
Seasonal Adjustments and Sensors
Rain sensors are a must—they stop the sprinklers during storms or when it’s freezing. That alone can save a ton of water every year.
I set the freeze and rain thresholds to match my local weather. Rain sensors provide reliable responsiveness and help avoid waste.
Soil moisture sensors check how wet the ground is and can skip watering if there’s enough moisture already.
Freeze sensors shut the system down below 32°F to prevent busted pipes and frozen lawns.
Wind sensors pause watering when it’s too gusty, and temperature sensors can make the system run longer or shorter depending on how fast water evaporates.
Placing sensors takes a bit of care—they need to be away from the sprinkler spray to work right. Sometimes I’ll call in a pro for this part to make sure everything’s hooked up properly.
Landscape Lighting Integration
You can run landscape lighting off the same control panels and wiring as your sprinklers. It’s pretty efficient and saves on installation costs.
Low-voltage LED lights hook into the same transformer network. I like being able to control both systems from one spot.
Path lights make walkways safer, and accent lights show off trees or the house itself.
I usually set the timer so the lights come on after the sprinklers finish in the evening. That way, fixtures don’t get wet and short out.
A pro installation helps ensure the voltage is right and the connections are waterproof. Fewer control boxes also means less clutter around the yard.
With everything tied together, maintenance is easier too. I can adjust both systems for the seasons without juggling a bunch of different timers.
Maintenance and Long-Term Care
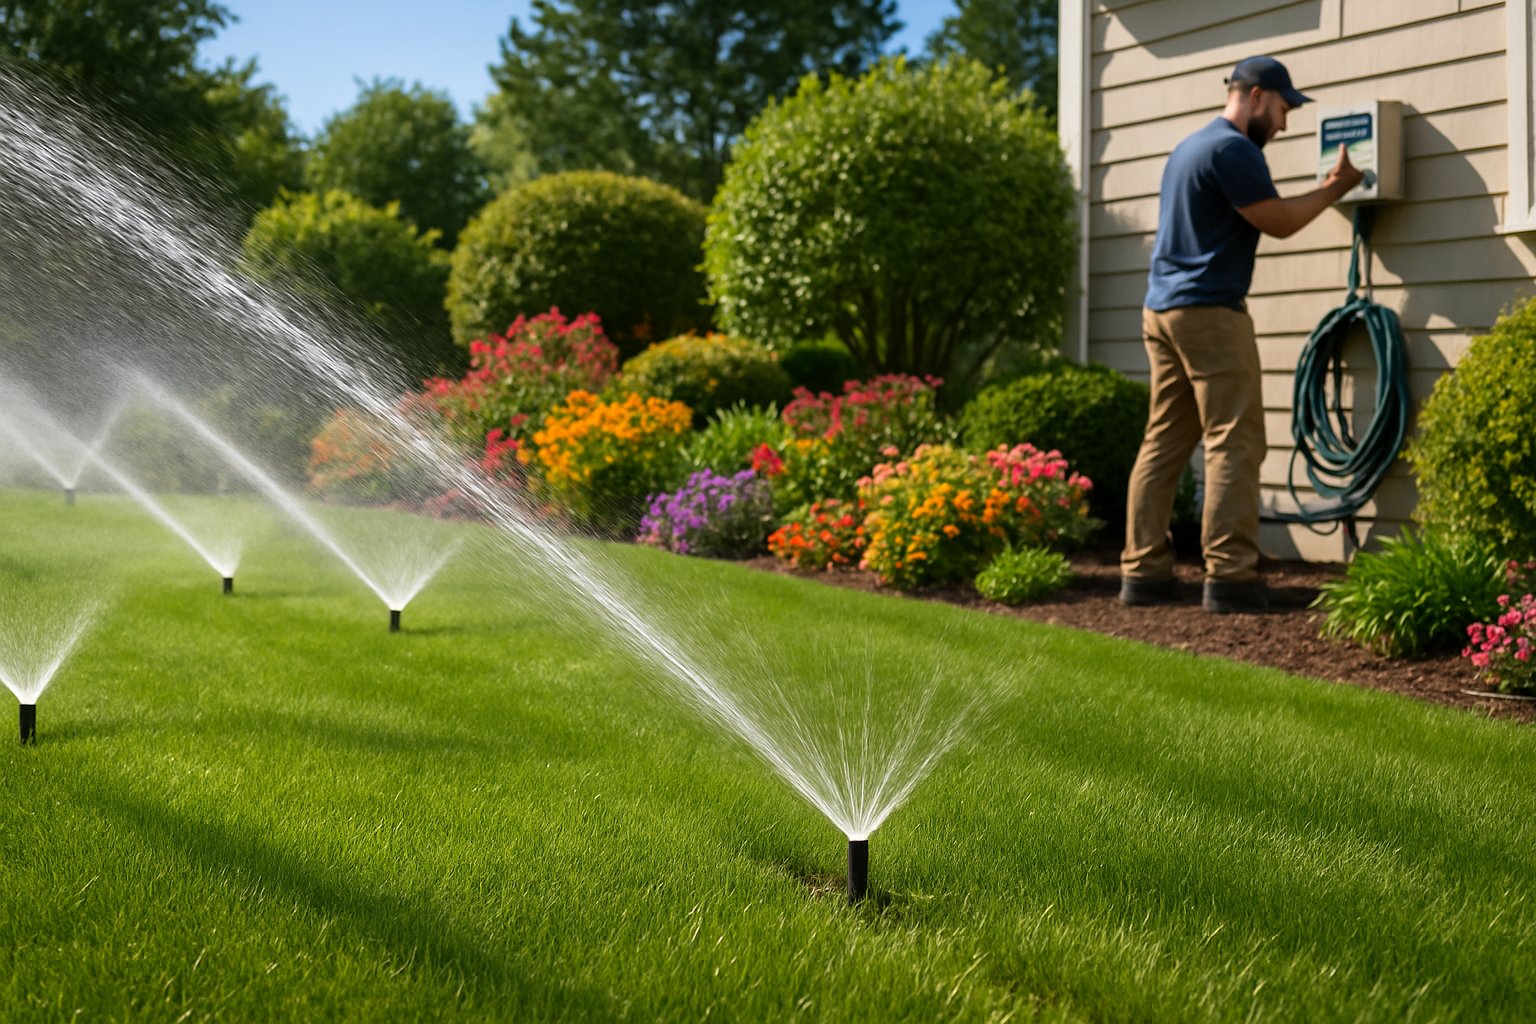
Keeping your sprinkler system in shape isn’t that hard, but it does take some regular attention. Monthly inspections, seasonal services, and the occasional upgrade keep things running smoothly and help you avoid pricey repairs.
Routine Inspections and Troubleshooting
I like to check the system every month during the growing season. Walking through each zone while it’s running helps me catch little problems before they turn into big ones.
First thing I look for is broken or clogged spray heads. If you see brown spots or water pooling, it’s usually a sign something’s up.
I swap out broken heads right away. Clogged ones usually just need a quick clean with a wire or even a toothpick.
Water pressure’s another thing to watch. Low pressure can mean a leak, while high pressure can break heads or waste water.
Common issues I run into:
- Heads that won’t pop up or go back down
- Weird water patterns or dry patches
- Controller programming that’s off
- Valve boxes filling up from broken pipes
I test the rain sensor every month by spraying it with water. If the system keeps running, the sensor’s probably bad and needs replacing.
I also check the control wires for damage—rodents love to chew them, and digging can nick them too. Exposed wires can knock out a whole zone.
Seasonal Start-Ups and Shutdowns
Spring start-up takes a little patience. I turn the water on slowly and check for leaks before pressurizing the whole system.
A good seasonal sprinkler system service includes pressure testing and making sure each zone works right. It’s worth catching winter damage early.
My spring checklist:
- Inspect all sprinkler heads for cracks or damage
- Adjust spray for any new plants or changes in the yard
- Test the controller and swap in a fresh backup battery
- Clean out nozzles and filters
For fall, winterizing is a must if you live where it freezes. I blow out all the lines with compressed air so no water’s left to freeze and crack the pipes.
Instead of turning the controller off, I set it to rain mode. That keeps the clock running but stops watering.
If it gets really cold, I wrap above-ground parts with insulation just to be safe.
Upgrades and System Expansions
Smart controllers are a solid upgrade—they can cut your water bill by 20-30% by adjusting watering for weather and soil moisture.
Drip irrigation works great for flower beds and veggie gardens. I can add these zones to older systems without tearing up the main lines.
Pressure-regulated heads help keep water coverage even, even if your pressure isn’t perfect. Less fiddling, better results.
If you add landscaping, consider expanding your system. Dragging hoses around is a pain and usually leads to overwatering.
High-efficiency nozzles are a quick retrofit for existing heads. These irrigation maintenance upgrades improve coverage and use less water.
Soil moisture sensors are great for preventing overwatering. I’ll put them in different soil types around the property for more accurate readings.
Switching old poly pipes to PVC is a big job, but it stops roots from getting in and cuts down on leaks. Over time, it saves money on repairs.
Choosing a Local Professional in Norfolk County
Getting a sprinkler system installed right takes some know-how. Local pros in Norfolk County get the quirks of the soil, water pressure, and regulations, and they usually offer ongoing maintenance to keep things humming all year.
Benefits of Professional Installation
Experienced installers know how to design a system that fits your yard’s layout and handles your water pressure.
Licensed contractors follow local building codes and pull the right permits. That saves you headaches and ensures the system’s legal from the start.
Most pros include warranties on labor and materials, usually for a year or two. That kind of peace of mind is worth a lot.
A well-installed system avoids the usual headaches—uneven watering, broken pipes, or high bills. The pros get the pipe depth, head spacing, and pressure settings right.
They can even save you up to 30% on water bills by designing efficient zones and picking the best heads for your landscape.
Selecting the Right Contractor
Always check that your contractor is licensed and insured. Ask to see up-to-date certificates before signing anything.
Get detailed written quotes from at least three companies. Don’t just look at price—compare brands, warranty, and how long the job will take.
Ask about their experience with Norfolk County specifically. Locals know the soil, frost lines, and weather that can affect your system.
Check references from homeowners nearby who’ve had similar work done recently. Their feedback is usually pretty honest.
Look for companies that handle everything—design, install, and maintenance. It’s easier to stick with one team for seasonal service.
Make sure they use quality parts from good brands. Cheap parts might save money upfront, but they’ll cost more to replace when they fail.
Sprinkler Services in Simcoe and Surrounding Areas
Simcoe’s got a few solid options for professional sprinkler installation and maintenance. Norfolk Sprinkler Guys handles both homes and businesses across Norfolk County.
These local crews cover everything from basic repairs to full system installs. They usually handle design and seasonal maintenance too.
Many of them work in nearby counties like Oxford, Brant, and Haldimand, so they’re used to different soils and local rules.
During peak summer, most companies offer emergency repairs. Quick fixes can save your lawn when something goes wrong in the heat.
A lot of the established contractors have certifications from irrigation industry groups. That shows they keep up with best practices and training.
Frequently Asked Questions
Sprinkler installation has a lot of moving parts—design, spacing, local rules, and keeping things running after it’s in the ground. Here are some common questions and things I think about when planning a system.
What factors should consider when designing a sprinkler system for my property in Norfolk County?
I look at a few main things when designing a system. The size and shape of your property set the number of zones and how complicated the layout will be.
Soil type is a big one—it affects how fast water soaks in and drains away. Clay needs slower watering, while sand dries out faster and needs more frequent cycles.
Water pressure and flow rate from your main supply line decide which sprinkler heads you can use. I always measure these before picking equipment.
Landscaping features like trees, slopes, and garden beds need different watering approaches. Sometimes I’ll use drip lines or special heads for certain spots.
How do I determine the appropriate spacing for sprinkler heads to ensure optimal coverage?
Sprinkler head spacing really depends on the size and shape of my yard. The Rainbird 5000 heads, which are pretty common, usually go about 25-28 feet apart.
Wind and site conditions can mess with that distance, so I can’t just measure once and call it a day. I need to overlap spray patterns so there aren’t any dry patches lurking between heads.
Sprinkler heads should reach the next one over with their spray. That’s how I get even coverage.
Rotary heads cover bigger spaces and need more distance between them than spray heads. I have to match the type of head to the area.
Corners and edges are tricky. Sometimes I need a different nozzle or maybe an extra head to make sure water gets everywhere it’s supposed to.
Are there specific regulations in Norfolk County that I need to adhere to when installing a sprinkler system?
I have to check with Norfolk County planning requirements before I even think about installing anything. Permits, water use rules, and system specs might all be in play.
Backflow prevention devices are usually required to keep the municipal water supply safe. Most cities want these tested every year, which can be a bit of a hassle, but it’s important.
Before digging, I need to call for utility locates. Hitting a gas line or cable would ruin anyone’s day.
If I’m going big with the system, I might need a water meter upgrade. I should double-check if my current meter can handle the extra flow.
What type of sprinkler system is most efficient for residential lawns in regions with a climate similar to Norfolk County?
Automatic sprinkler systems with multiple zones are honestly the way to go for mixed landscaping. Each zone can be set up for different plants and how much sun they get.
Rotary sprinklers are great for big lawns. They throw water farther and more slowly, so the soil actually has time to soak it up.
Drip irrigation is perfect for garden beds and shrubs. It gets water right to the roots and doesn’t waste much.
Smart controllers with weather sensors are a game changer. They’ll skip watering if it’s raining or change the schedule if it’s unusually hot or cool.
How can I integrate water conservation practices into my sprinkler installation in Norfolk County?
Rain sensors will stop the system if it’s already raining. That’s just common sense and saves water.
Soil moisture sensors check if the ground actually needs water. They’ll block the system from running if the soil’s already wet, which is pretty clever.
Efficient sprinkler heads with matched precipitation rates help keep water use even. That way, one spot doesn’t get soaked while another stays dry.
Zone programming lets me give each area what it needs. For example, sunny slopes might get more water than shady spots under trees.
What routine maintenance should be performed to keep my sprinkler system in Norfolk County operating effectively?
Winterizing my sprinklers matters most when getting ready for the cold months. It stops pipes and components from freezing up and cracking.
In spring, a startup service gives the system a fresh start after winter. I usually check every head for damage and tweak the spray patterns.
Sprinkler heads get clogged sometimes, so cleaning them regularly keeps water flowing where it should. It’s surprising how a little dirt or debris can mess up the coverage.
Annual backflow preventer testing pops up on my to-do list since it’s required in a lot of places. I make sure to schedule this inspection to avoid any headaches with local rules.